I love being able to meet with my students online! Taking lessons over the internet doesn’t have to be stressful. Let me answer some common questions and help you make the most of your online lessons.
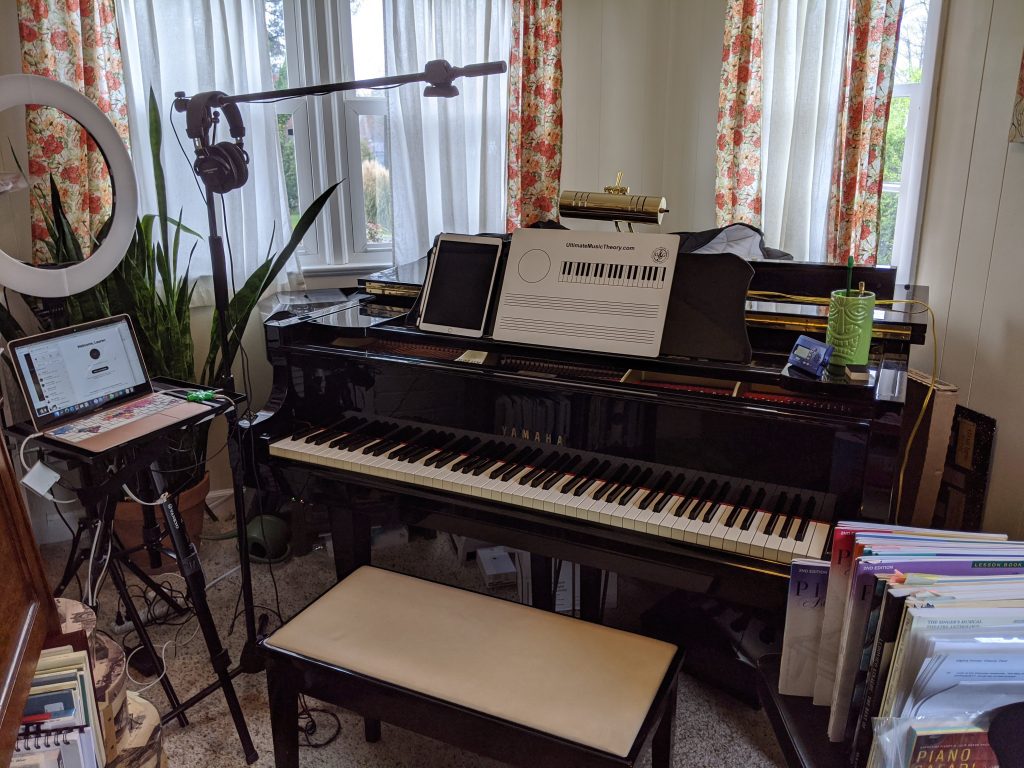
My home set-up. Don’t be worried by all the wires. I swear, there is organization in the chaos! Besides, most of what you see is not necessary for the average student. I’m going to walk you through the basic things you need to get started and you will be amazed how easy online lessons can be.
1. Decide on Your Device!
- Smart phone
- The most easily available
- Not the biggest screen to see me on, but it works in a pinch.
- Tablet
- Much better screen size.
- Lightweight and easy to move around
- May require a little more work to position it properly without a stand, but I’ll show you an easy way below that only requires a stool and some books!
- Laptop
- Awesome screen size!
- Sits up well by itself. Can be a bit bulky to move around, but gives you a lot of options
2. Use the Right Program
- Zoom is best!
- Easy to record lessons on.
- Good, stable sound quality, even when two people are talking at once!
- Minimal connectivity issues, in my experience
- I can use split screen technology to show several camera angles at once or even share my iPad screen!
- Ability to schedule recurring appointments. This means all you have to do is use the same meeting code each week and reminders go directly to your calendar! Students can even start the lesson before I get there so they can set up their camera ahead of time.
- Skype is next!
- Also easy to record lessons.
- Decent connection quality.
- Con: seems to require a lot of updating. Beware of opening the app right before a lesson! You may end up having to download some updates before you can use it.
- FaceTime is adequate.
- Most people with Apple products are very comfortable using FaceTime.
- I have not had serious issues with lost connections or glitches.
- Cons: My main issue with FaceTime is that the screen size is very small. It can be hard to see students properly. Also, I am not able to use my split screen cameras.
- If you want to record your lesson, it can be done by opening Quicktime and, under the file menu, choosing “New Screen Recording.” Before you start the recording, choose a microphone from the dropdown menu next to to the record button or the sound will not be recorded.
- Google hangout is not ideal
- In the past week alone, I have experienced frequent sound glitches and freezing while using hangout. Not recommended!
3. Speed Up Your Connection
- Close down any open tabs and apps on your device.
- Fully charge your device or plug it in.
- Limit other wifi usage in the house. Turn wifi off of your phones and definitely don’t stream videos!
- Consider using an old-fashioned ethernet cable! I use one and I’ve found it has drastically improved my internet speed during lessons. My laptop does not have an ethernet port, so I use an inexpensive ethernet to USB adapter.
4. Perfect Positioning of Your Device
- Put your camera to one side of your keyboard. Imagine where I sit during your lesson. I should be able to see your hands on the keyboard and your face while we talk.
- Don’t put the device on the music stand facing you. I love seeing your smiling face, but I’d also like to see your instrument!
- Be sure that wherever you set your device, you can also see the screen well.
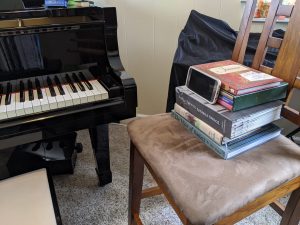
- You can use books on a stool or chair or you can get fancy with a tripod or special stand. Here are some pictures demonstrating easy ways to set up your device:
Put a chair, a stool or a table next to the piano. Stack books to bring the phone to the perfect height. Make a little shelf out of the books to lean it on. Easy peasy!
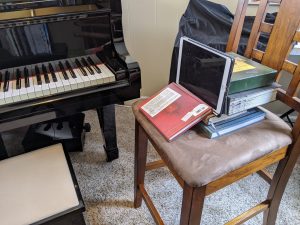
You can also use books to lift your tablet to the correct height. Put one book in front to keep it from tipping forward.
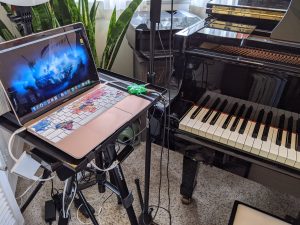
A laptop can sit on a table, on a stack of books or on a stand!
5. The Sound of Your Space
- Work in a quiet space. You’d be surprised how much background noise gets picked up on webcam mics! Try to keep the room quiet during lessons or even consider moving a portable keyboard to a bedroom or other private location.
- Use headphones if there is an echo issue. Sometimes the program can pick up noise from your speakers and send it back into the mic. Newer programs like Zoom don’t seem to have as much of an issue with this, but putting a pair of headphones in can help.
- If you are using an external mic, don’t put it on top of the piano. It create too much buzz. Just place it beside the piano on a table or stand.
6. Parents can help!
- Stay close by at the start of lessons in case of technology issues. This is especially important during the initial online lesson. Don’t worry if it takes a few minutes to get things organized at first. That’s totally normal!
- Parents of younger students might need to stay close by during the entire lessons. Help them find their places and make notes in their music. You can even help demonstrate some of the techniques we’re learning if the student seems confused.
7. Get fancy!
- Nothing is needed to start online lessons besides a device with a camera attached and an instrument. If you do want to get a little more fancy, however, here are some things I have added over the years.
- Add a light behind the camera. I use a portable ring light to highlight my face and my hands on the keyboard.
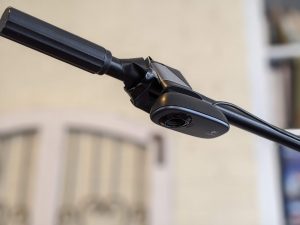
- Use a mic stand with a stable, phone or webcam attached to it to show overhead views of the keyboard. My setup is literally a webcam taped to a mic stand!
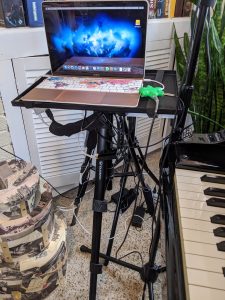
- Use a laptop stand to position your device. I purchased a tripod projector stand on amazon and it collapses and fits into a cloth bag. (See the picture below.) You can use a music stand turned flat.
- Add an external usb mic. Many people like the Blue Snowball or Blue Yeti. I have several mics I use in my voice-over work and I moved one into the piano room to use during lessons. I don’t recommend adding an external microphone unless you are sure it will improve the quality of your sound. Most modern devices come well-equipped already and external mics can be pricey and tricky to position properly.
Laptop on an adjustable stand:
How to attach a webcam to a mic stand: lots of tape!
There are all my tips for making the most of your online lessons! The best advice I have is to relax and not worry about making everything perfect right away. If you are really nervous about trying out a new program, maybe schedule a practice call with me or with a friend to try it out.
All you really need is an instrument,a pencil and paper, your own device and a flexible attitude!
See you there!
